Showing posts with label inspiration. Show all posts

Wednesday, April 13, 2016

Soapy artist discovery - Kazumi Kinoshita of Aromatica Labo

All photos by Kazumi Kinoshita

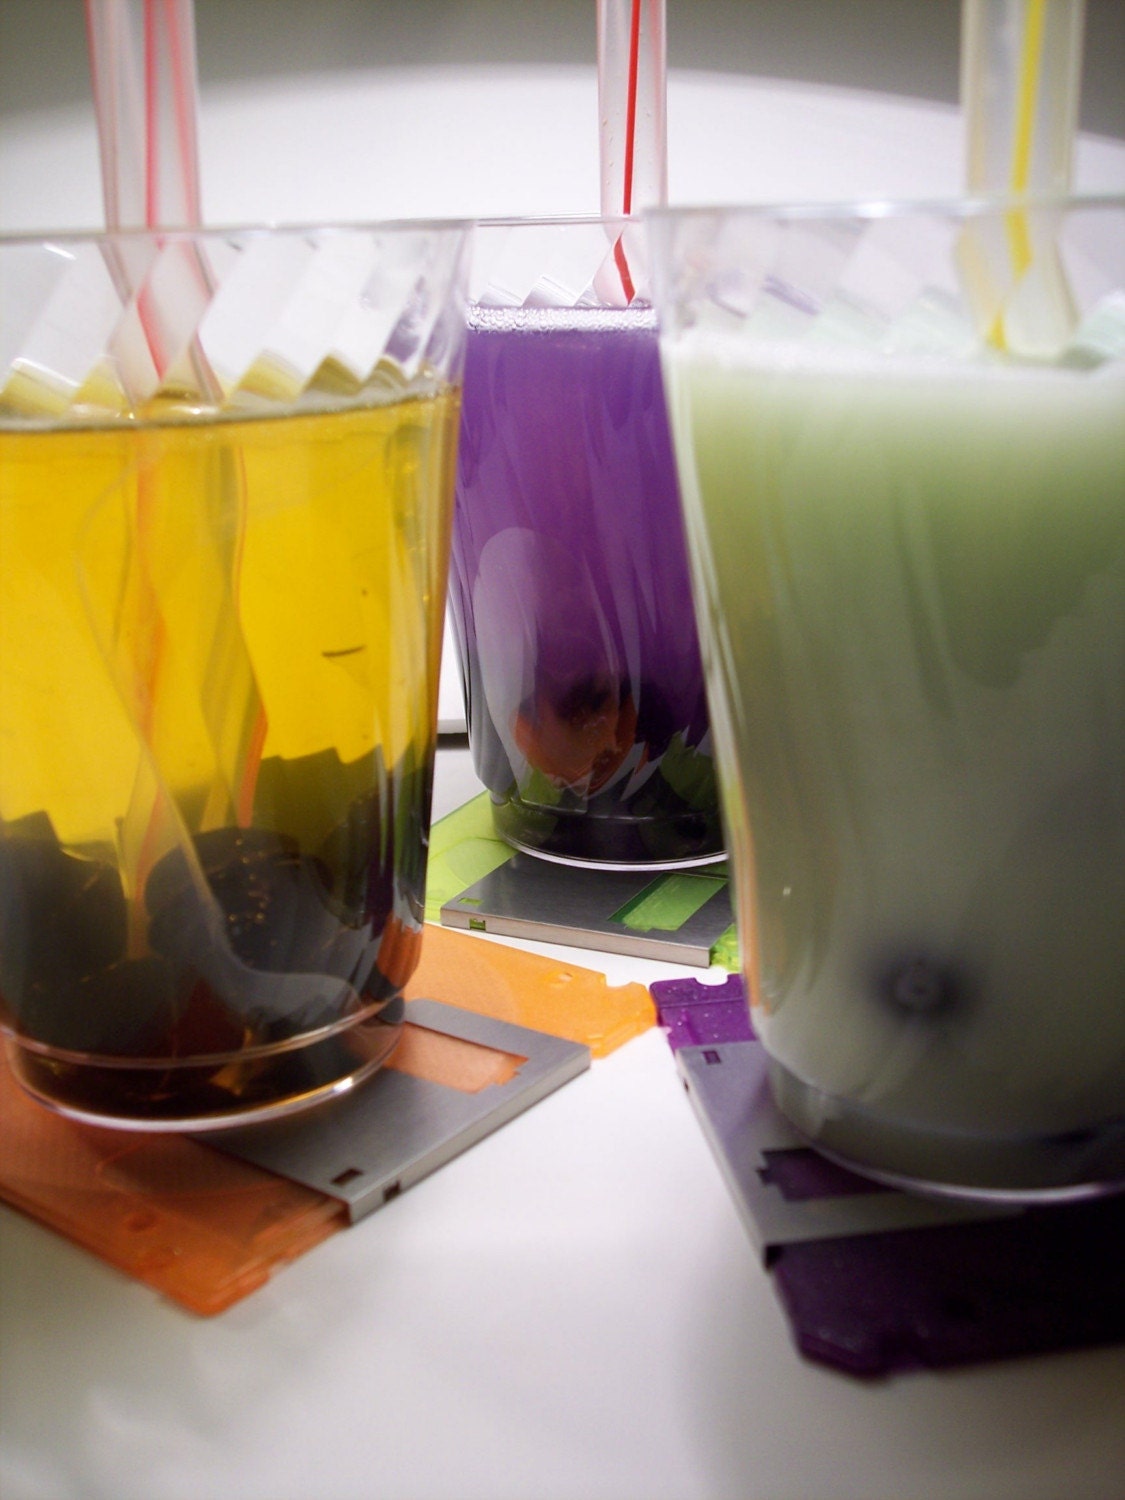
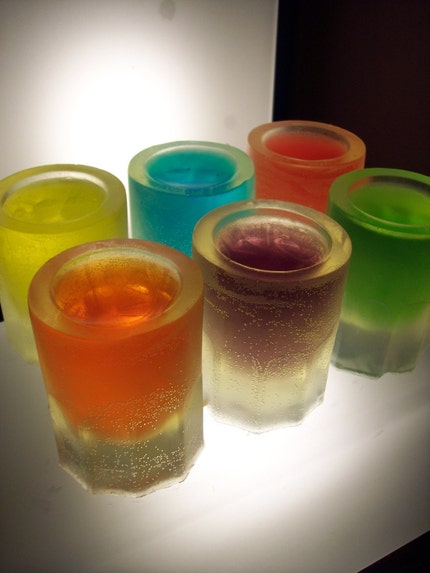
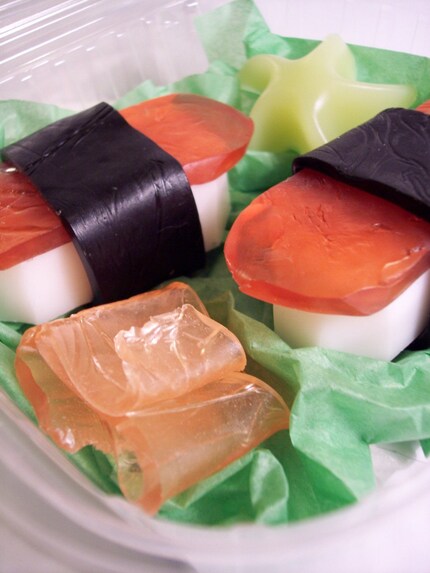
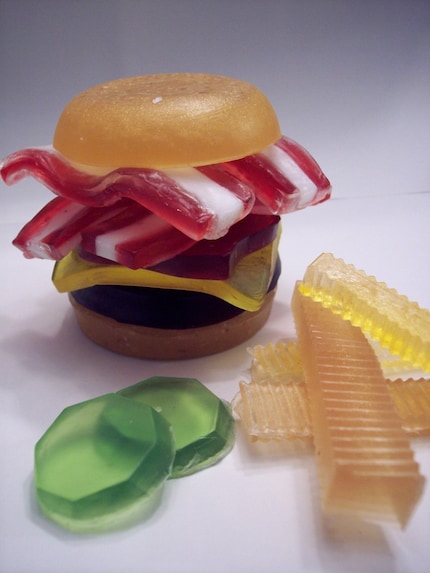
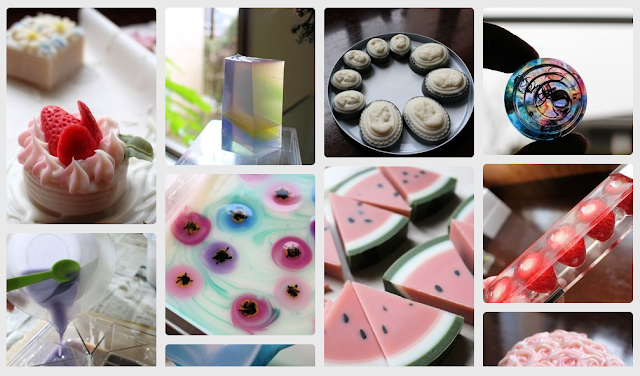
Thanks to the wonders of Pinterest, today I was introduced to the incredible artistry of Kazumi Kinoshita in Japan.  From what I gather on her site, called Aromatica Labo, she is a soap teacher in both glycerin and cold process forms.  As you can see from the photos from her Pinterest page above, she has a huge range of styles and techniques.  It's just amazing!

Her site is in Japanese and the translations are not perfect, so I just want to share some of her photos with you.


I love how she uses the softest colors, and the addition of some texture.  Such a beautiful use of light in her soaps!


I am so in awe of her color combinations!  It's like a painting!


And then there's this, which I have no idea about!  All I know is that it makes me happy to look at!

The amazingness goes on and on.  You must see for yourself!  Start with her Pinterest page.  It's breathtaking!!


For all of Soapylove’s tutorials and class projects, go to www.soapylove.com or check out the book on Amazon!

Friday, April 1, 2016

Studio DIY Blog Crush, Ombre Inspiration, and Free Soap Tutorial!


Kelly, of Studio DIY
If you’ve been visiting the Soapylove Facebook page lately, you know that I’ve been seriously crushing on the DIY Studio blog!!  The tag line is “Make Life a Party.”  Say no more, right?!  Kelly, the adorable woman behind the blog, has incredible tutorials and stylish inspiration.  I could go on and on.  But you should check it out and get on her super fun mailing list.  Your inbox will thank you!

Yesterday she posted a tutorial for DIY ombre glassware.  So pretty! 

DIY Ombre Glassware Tutorial

Which reminds me – you can get this beautiful faded effect quite simply in glycerin soap!  A tilt of the mold is all it takes.  In conjunction with The Nova Studio, here is the Soapylove Ombre Soap Tutorial.  Enjoy!  (And if you have any questions or comments, please post them below!)


Free Ombre Melt and Pour Soap Tutorial
It’s so fun when a fashion trend translates perfectly into glycerin soap crafting! Like the “ombre” effect, which is a pretty color fade that is being used in everything from dip dyed shorts to hair color effects. Getting a perfect fade in soap might seem tricky, but with a simple technique you’ll get gorgeous results every time.
I see these soaps as a very elegant wedding or bridal shower favor, or a pretty way to add color to enhance your fragrance choice. This is also a handy technique to add to more complex designs!
Supplies: Makes 4 bars
·         4 oz of clear soap base, cut roughly into 1” cubes
·         12 oz of white soap base, cut up
·         Pastel mica colorant of your choice
·         Fragrance oil of your choice
·         4 cavity soap mold (I used Milky Way guest rectangle)
·         Spray bottle with rubbing alcohol
·         Stir sticks, mini paper cups, 2 cup heat-proof measuring cup, microwave


First we will color a small amount of clear soap with mica powder. The powder must be dissolved before adding to soap or else it will clump. To do this, spray some alcohol in a small paper cup (about ½ teaspoon). Stir in a pinch of mica powder and stir well. Melt 1 oz of clear soap base. Pour into the cup of mica solution and stir well. For this effect, I suggest using less color than you think you should. A blush of color is what we’re going for.

Now spray the inside of your mold with alcohol. Pour just enough colored soap to coat the surface.
Next quickly tilt your mold and prop it up on something like a book or magazine. Not more than 1/2” tall.

The colored layer is so thin that you must be super careful that your white soap is not too hot. Melt 12 oz of white soap base. Stir in 1 mL of fragrance oil per bar of soap you are making. Allow to cool in cup until thickened, spray hardened soap in mold with alcohol, and top off with white soap.
Allow soap to harden and unmold!
For all of Soapylove’s tutorials and class projects, go to www.soapylove.com!


Wednesday, March 30, 2016

Creative Pop Love by Adrian & Gidi

Paper Art by Adrian & Gidi

I came across this awesome little gif on Pinterest and just had to share!  My love of pops goes well beyond soaps (as you can see on my Pop Love Pinterest board), and this really tickled me!  Hope you enjoy it, too.

Have a great day!
P.S. Go to Adrian & Gidi for more amazing paper art!

For all of Soapylove's eZines and tutorials, check out soapylove.com!

Thursday, August 6, 2015

Buy in Bulk! Get the whole library of Let's Get Soapy for a special price!

Lori and Cassie at The Nova Studio are always thinkin'. Since we all noticed that the interest in melt and pour soap is on the rise and people are discovering how awesome soap crafting is, they decided to put the entire Let's Get Soapy eZine Collection into one bundle, and save you a bundle!  

Each issue has 3 full step-by-step tutorials (many with great holiday and gift ideas), supply articles, technique ideas, design inspiration, and often some extra goodies like printables, you will get a lot of great information in these eZines.  Designed to be read on your monitor, you'll be able to dive in the moment these digital magazines hit your inbox.  

Check it out!  I think you'll love it!

Thursday, July 30, 2015

Dissolving Embed Paper - So Much Room for Soapy Creativity!


When I started making glycerin soaps, I wanted to get lots of detail into my designs.  I used exacto knives and toothpicks to cut pieces of soap into fancy shapes like birds, silhouettes, tiny tiles... you name it.  I loved doing it but even then there were so many looks I couldn't achieve.

I used chocolate transfer paper, which was fun but colors will bleed since it's made of food coloring.

I saw soap designs with photographs in them and was pretty excited until I found out they were using sheets of acetate or plastic which didn't sound very skin friendly (hello, sharp edges and corners!). My quest continued.

Bicycle Soap - winner of Best Melt & Pour at HSMG Conference 2010
Then I heard about dissolving paper.  I was intrigued but read about people using hairspray to set the ink so it wouldn't bleed, and even then it was very problematic.  But it sounded like the best material, so I tried it.

Well, let's just say that once I figured out the nuances of embed paper, I was hooked!  I created an entire soap collection around this material because I loved it so much.  It's perfect for making logo soaps, wedding favors (photos of the happy couple!), and combined with other soap techniques it's a show stopper.
Are you interested yet?  If so, here are my Cliff's Notes about this amazing stuff:
  1. This is my favorite brand. I've had NO problems with it.  My soaps that are years old still look new.
  2. Use a laser printer!!  Ink jet printer ink will dissolve into a fuzzy blob!  Not pretty!
  3. Only use graphics with the designer's permission.  Personal photos are great, but celebrity pics will get you in trouble. The world of digital clip art is vast and affordable. Just check the artist's rules about using them if you plan to sell your gorgeous creations.  
If you'd like to learn more - from printing tips to a step-by-step project - check out Issue 9 of Let's Get Soapy which also includes free printables.  I'm sure you're going to have so much fun!!  

Comment below if you have any questions or additional input!  

Wednesday, July 29, 2015

Illustrated Tutorial - Mondrian Soap Pop

Hello!  Today I want to show you how to make a soap pop like I did here, inspired by the artist Mondrian.  This is an advanced but very gratifying project! :)


If you need a pop mold, I use these (click image to view more info):


I hope you like it, and maybe even give it a try!  Feel free to comment with questions. I'm very happy to help!

For more Soapylove melt and pour / glycerin soap projects, check out www.soapylove.com!

Friday, December 4, 2009

Some Soapy Eye Candy for the Weekend!

Today I received an email from a customer in Russia, telling me about the Russian Soap Cup. I went to the site and was blown away by the creativity!! It's all in glycerin soap and you will not believe how amazing the work is, like the Lily Pad Soap above.

For the original page in Russian, click here.

For the site translated into English, click here.

Enjoy and have a nice weekend!

Wednesday, July 29, 2009

Soapylove Graduate Opens Shop!

Last December, I taught 2 classes at The Nova Studio. One was Bubbly Holidays and the other was Sweet Treats. Hilary Goldman was a student in Sweet Treats and apparently glycerin soap crafting really clicked for her!

Since taking that class, Hilary has gone full steam ahead. She has sold her soaps at craft fairs and even opened a shop on Etsy called A Slice of Delight. In her profile, she says:
Welcome to A Slice of Delight where I design and hand craft melt and pour glycerin soap. I strive to create soaps with engaging colors and scents(fragrance and essential oils) that generate an upbeat, happy, cheery and (oh yeah) delightful feeling.

You can tell by her adorable packaging and heartfelt product descriptions that she is putting a lot of love into her designs, and they look great! Make sure to check out her shop, which is full of her beautiful work.

If you'd like to try your hand at glycerin soap crafting or would like to add a few techniques to your repetoire, please join us next weekend at The Nova Studio for Artistic Melt and Pour Techniques on August 8. It's a 6 hour class full of hands on projects! I hope to see you there!

Wednesday, July 15, 2009

Are You a Maniac? Come Join Us!

Chances are excellent that you make melt and pour soap. Or maybe you own a shop and sell them there, or maybe you just love soap crafting of all persuasions! Well then you qualify as an M&P Maniac!

I have a group on the Indie Beauty Network called M&P Mania and I would love to have you join. We have lots of discussion topics there and all of them revolve around M&P - whether it's about colorants, soap trends, artistic uses for glycerin soap, class announcements, or whatever else!

If you're not an Indie Beauty Network member, that's no problem. You don't have to be to join my group. While you're there check out lots of great community discussions on the Indie Beauty site and meet other indies like you, too. I guarantee that you'll learn something new!

See you there!

Friday, July 10, 2009

The Things That Glycerin Soap Can Do - Amazing!

As I browsed the world wide web today I found some of the most awesome glycerin soaps! Check out these great soapy creations from Dirty Ass Soaps, where their "claim to fame is taking what would be a boring bar of soap and turning it into a frickin' masterpiece." I love that attitude - and they're not joking. Check them out for yourself!

They are really taking soap to a whole new level. I hate to sound cliche, but can you argue the amazing creativity? Love it! Go to their shop and get some masterpieces for yourself. Now! :)

Thursday, July 2, 2009

The Making of a Checkered Soapsicle

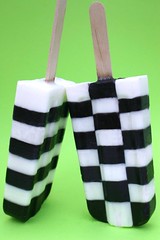
Today in the Teach Soap Forum, mattielou sent me an email asking how I made the Checkered Soapsicles she saw in my Flickr account. In case you're curious, here's what I told her:

Hi Lynne-
Regarding the checkered soapsicles, I didn't put that project in my book because it's pretty hard. But if you want to give it a shot, here's what you do:

Make a batch of white soap and black soap. Make the black soap really dark because if it's not dark enough it looks grey instead.

Now measure carefully 2 tablespoons of white soap and pour it into a mold, being super careful that none of it touches the sides of the mold. Let it set, then alternate stripes of black and white. Measuring accurately is critical!

Here's the thing: you're going to make 2 molds that start with white, and 2 molds that start with black. Hopefully you've made soapsicles before so you know how to insert the stick and unmold them.

Once they're unmolded, you have to do some soap magic. Cut each soapsicle lengthwise into thirds. Now take 2 sections that are the opposite pattern of 1 center section. Melt some clear soap base. Spray each cut end with alcohol, paint on some clear soap, and glue on the side sections.

Voila! Checkered soapsicles!

The things that are really tough about these are:
1) not getting any drips on the sides of your mold
2) making sure every layer is the exact same thickness or else your checkers won't match up
3) making sure you cut each soapsicle at the exact same place or else they won't look right when they're glued together

Plus they're really just decorative. So I'm not sure if you want to go through all of the hard work, but in case you do, that's how it's done!

Have fun, and let me know if you decide to make them! (I'm sure other color combos would be awesome and not as obvious if there were drips, such as white and pink or white and lime green. Just make sure all dyes are non-bleeding!)

Phew!
Have a great day,
Debbie

For lots of fun Soapylove tutorials (with pictures!), check out the Let's Get Soapy eZine, or reserve a copy of Soapylove on Amazon now!

Sunday, June 28, 2009

Mouthwatering Soapy Creations from Australia!


Kim Wilton is the owner and very nice person behind Pepo Park - a great line of natural body products. We met at the HSMG Conference and had an awesome time!

Well, she just returned from Australia and has some amazing photos posted on her blog. They're all sweet inspired and are beyond belief. The Licorice Soaps above are certainly the tamest (but my personal favorites!). Head over and check out more of the coolness she discovered. Thanks, Kim!

Monday, June 15, 2009

Check Out What Just Drove Out of Soapyland!


Ever since I saw a great post about a Swarovski-encrusted Mercedes on The Crafty Chica Blog, I've been dying to make a soap car. Like many of my soap projects, it took me months to finally decide on all of the details. When I saw a fist-sized Mini Cooper toy at Rite Aid, I knew I found my muse.

This is just a fun personal project. It wasn't for any reason - just to see how it would come out. I got some molding putty and cast a silicone mold, then layered, embedded, remolded, and painted until it came out right. (The tires are actually part of the soap bar - not made separately!) It's scented with Green Apple fragrance. Oh, and this was my 3rd one! Glad that's over with!

Would you like to hear the blow-by-blow of how I made this? Check out my post at the Teach Soap Forum here.

I hope you like it! :)

Monday, June 1, 2009

New Video Over at the Soap Lab!!


Take a trip with me to Architectural Salvage of San Diego to hunt for new soap ideas! Turn antiques into techniques! View this brand new video over at The Soap Lab. Enjoy!

Wednesday, April 8, 2009

Mega Inspiration! You'll Love This!


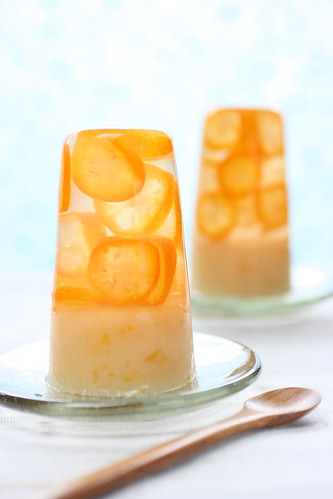
kumquat jelly, originally uploaded by bananagranola.

One of my most exciting new discoveries is an amazing photo group on Flickr called "Jelly, Jam, && Gelatin" (yes, 2 &'s). It is a jaw dropping source of glycerin soap inspiration like this gorgeous Kumquat Jelly photographed by bananagranola.

It's also funny since gelatin has a very checkered past. Does the word "aspic" mean anything to you? Well, I've never eaten any savory gelatin dishes, but there have been some pretty stomach-turning creations that have been encased in wiggly wonder (more on that in my newer post, expanding on the gross ones!).

Take a moment and click through the 5 pages of pretty and pretty scary gelatin creations. Happy browsing!

Friday, October 24, 2008

Thingsicles - My Favorite Things on Sticks!

As you can imagine, I find myself attracted to things on sticks. Making soapsicles has given me an appreciation for how sticks seem to make anything more charming! So, in my compulsive internet surfing, I've come across some other people making things-on-sticks that I just had to share with you!

First, let me introduce you to Bakerella. She has combined 2 of the best smile-makers into one amazing edible creation - Cupcake Pops! Bakerella is not a secret. She's even been on Martha. I read her blog and am floored by the cool variations of this idea that she is constantly posting. But what is really cool about Bakerella is that she teaches you how to make them, too! Check out the Bakerella site for recipes, entertaining posts about baking, contests, and baking supplies. It's so great!

Next is my super favorite candy site called Lollyphile. It is a small San Francisco based company that is just one year old and has made quite an impression with their Absinthe and Maple-Bacon Lollipops! They even have a new flavor called Wasabi-Ginger. Their goal is to "make the most interesting and unique lollipops in the world." I admit - I haven't ordered any for myself yet, but their pops would make an amazing gift for those hard-to-shop-for types!

Lastly, my ultimate favorite for total color and sweetness inspiration is the classic Whirlypop. These psychedelic and totally happy rainbow lollipops have set the standard for color on a stick. Plus you can get them in enormous 8" diameter versions! Search "Whirly Pops" and you'll find lots of online shops that sell them. This beautiful photo is by Sofia Kateriina on flickr.
Now that I've poured my heart out about things on sticks, are there any that you think I missed or that you'd like to share, too? Please comment here and tell me about your favorite stick-suspended creations. Thanks!